|
To avoid this problem its best not to totally rely on the rails capacity to
carry the power supply to distance sections of track. A bus wire on each rail can
be run underneath the track to efficiently carry the current. Smaller feeder wires
can connect the bus to the rails positioned at regular intervals.
Wire for model railroads comes in a variety of sizes and gauges. A smaller gauge
number indicates a larger wire diameter. Wire is also available in stranded or
solid types. Thicker wires can supply more current flow; however they are more
costly and less flexible when it comes to bending and soldering.

In an ideal world you might have a feeder on every track section on your model
railroad. However, in reality this isn’t usually practical. Many DCC manufacturers
suggest installing a feeder wire every 6 ft to 12 ft. By soldering your rail
joints, you can usually decrease the number of feeders that are necessary.
In difficult-to-reach areas, more feeder wires could be a sensible idea.
Installing several feeders and soldering the joints will generally mean you’ll have
power even when a joint fails or a wire breaks.
Don’t cut the wire from the spool until your soldering is finished. It’s best to
determine the correct length before cutting it. Solid core wire is really good,
compared to stranded wire. And use resin core flux. You can bend the wire at a 90
degree angle just before soldering.
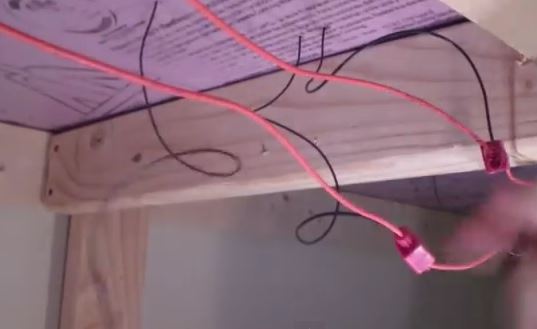
Scotch-Loc Connectors seen in this video are a good suggestion. They are
available from RADIO SHACK and the usual electronic stores.
|

